Hi
In this article , we are going to learn how to make our copyright or signature a brush preset
It will make your life much easier , and it's so easy !
In this tutorial i'm using photoshop cc 2014 edition
Download trial version here
you can subscribe in photographers package for 9.99$ per mounth ( one year plan )
see all the plans here
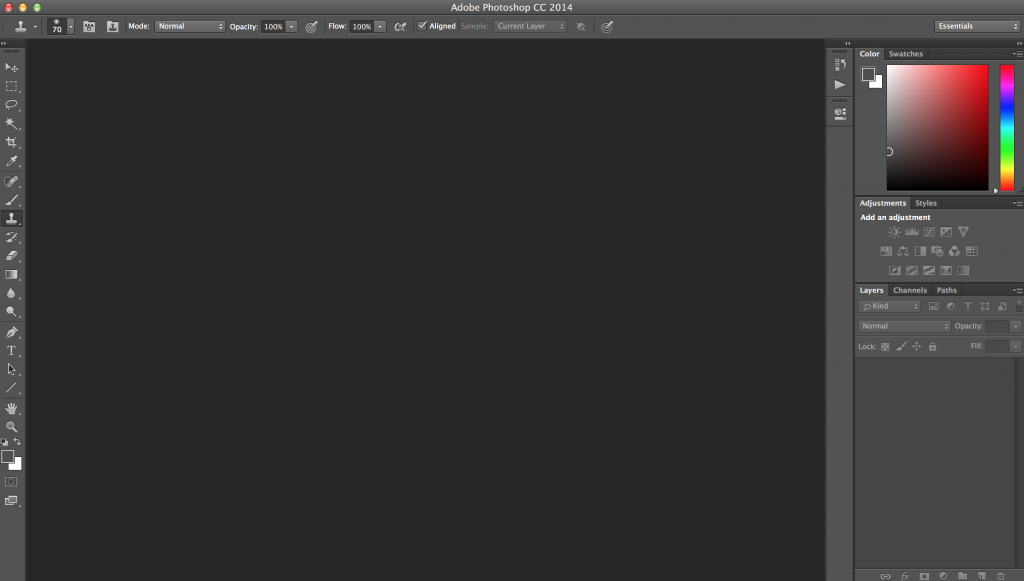
1. Open photoshop
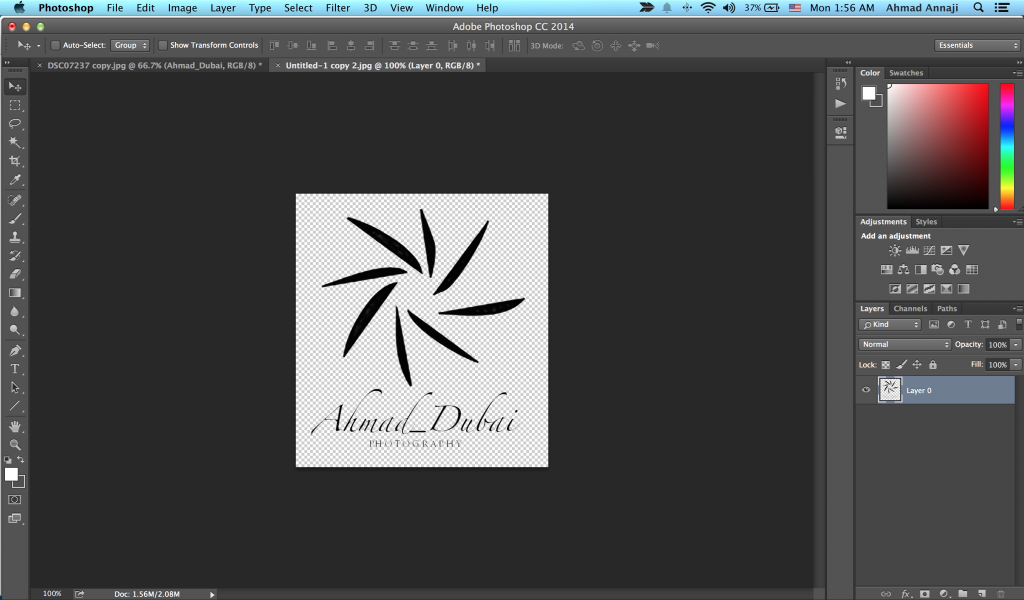
2. Drag your copyright or signature
Make sure that the background is transparent not white or any other colour
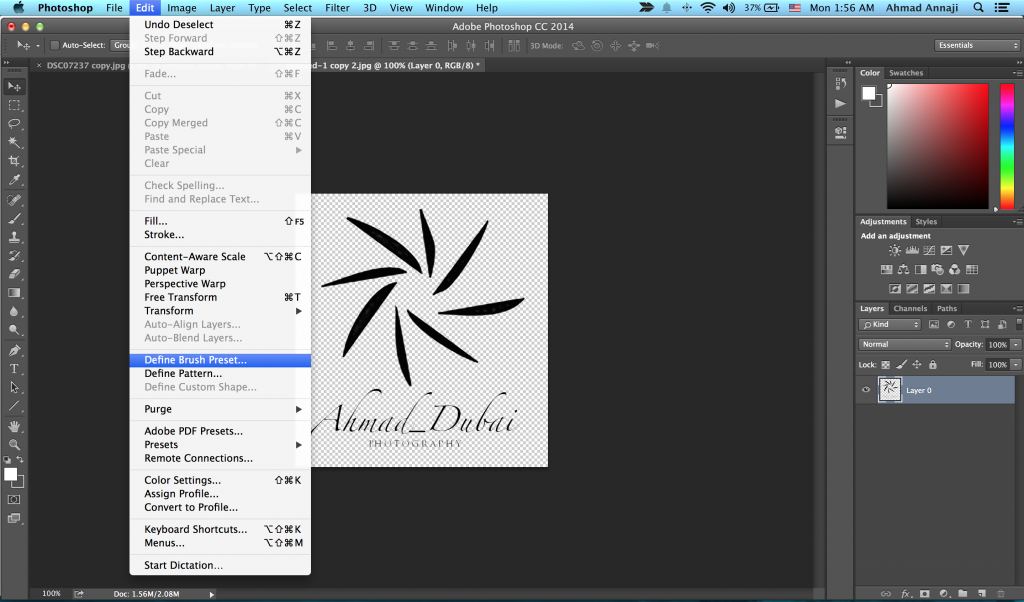
3. Go to edit menu > Define Brush Preset
4. Name your brush then click Ok

AND THATS IT !
Go to your brush menu , you will find you copyright or signature the last one
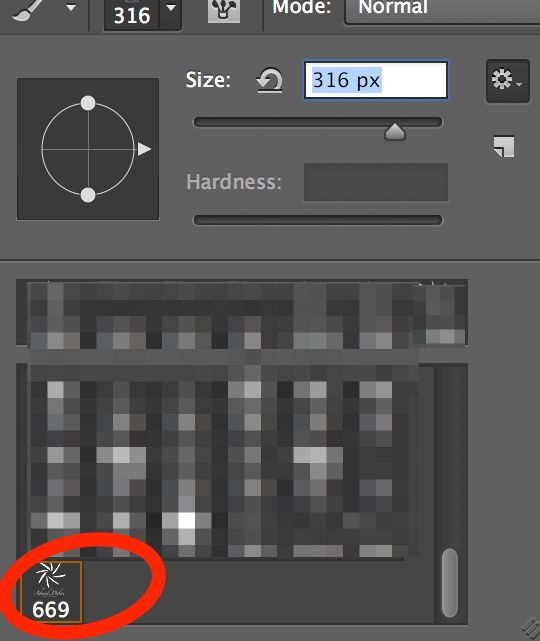
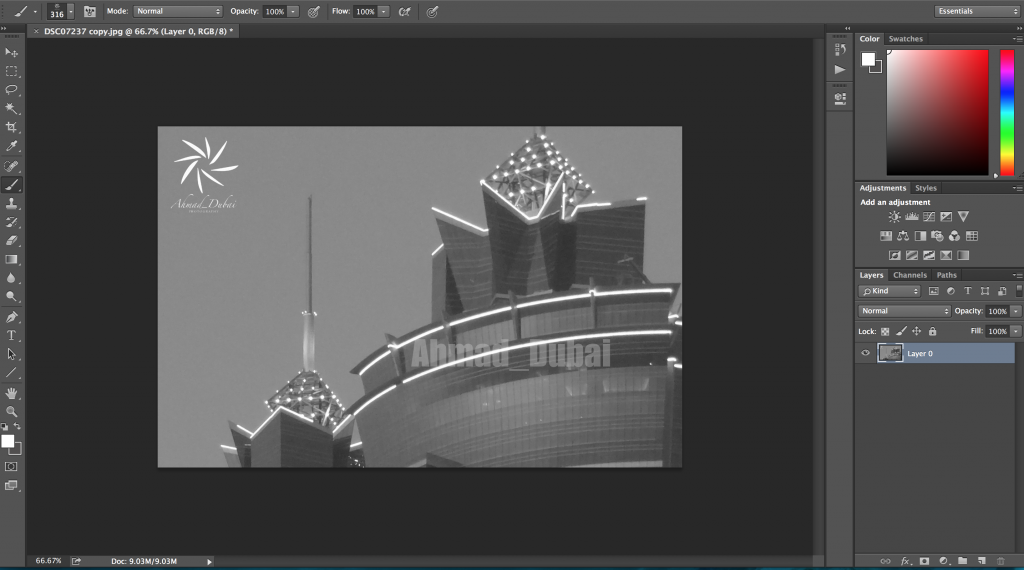
Select it & click on your picture
you can control the opacity , colour & size
PS: The number below the brush logo is the auto size , you can make it smaller or even bigger , BUT if you make it much bigger than the auto size , it might lose the details :)
.png)
In this article , we are going to learn how to make our copyright or signature a brush preset
It will make your life much easier , and it's so easy !
In this tutorial i'm using photoshop cc 2014 edition
Download trial version here
you can subscribe in photographers package for 9.99$ per mounth ( one year plan )
see all the plans here
1. Open photoshop
2. Drag your copyright or signature
Make sure that the background is transparent not white or any other colour
3. Go to edit menu > Define Brush Preset
4. Name your brush then click Ok
AND THATS IT !
Go to your brush menu , you will find you copyright or signature the last one
Select it & click on your picture
you can control the opacity , colour & size
PS: The number below the brush logo is the auto size , you can make it smaller or even bigger , BUT if you make it much bigger than the auto size , it might lose the details :)
Enjoy your photography ( or whatever you do in photoshop :D )
BOUNS TIP :
You can rearrange your brushes
Click on that little icon on top right > preset manager the drag your brushes wherever you want